

|
Archive for December, 2007
Monday, December 31st, 2007
This is a great dessert that I adapted (sort of) from a recipe in The Best of America’s Test Kitchen, which by the way, is my current favorite cook book. I love the science behind the process. These test chefs develop recipes, try out products, taste ingredients, and mess with cooking utensils until they come up with the right mixture using the right cookware. Then they fill us in on assorted tips and tricks for culinary success, so we don’t have to bang ourselves over the head with a rolling pin when a cake falls or the fish buckles. Yikes! I’m glad they do all this testing and retesting so the rest of us can sit back and take credit for wonderful treats. Keep in mind that The Test Kitchen isn’t gluten-free, but nobody’s perfect. And we can adjust for that.
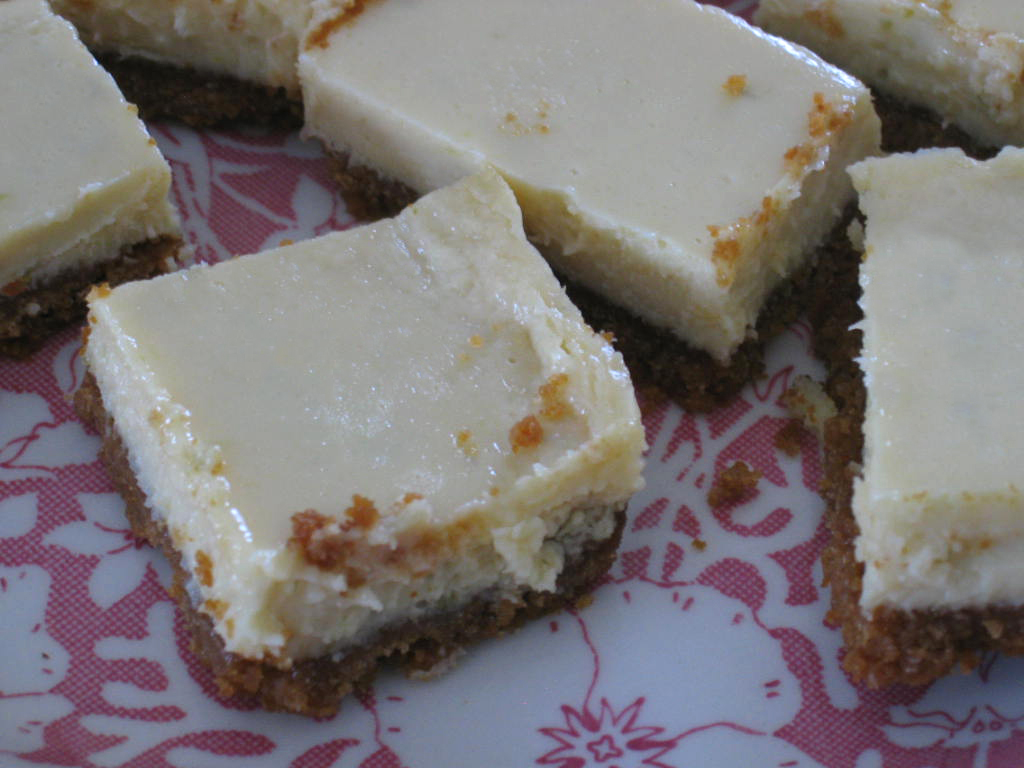
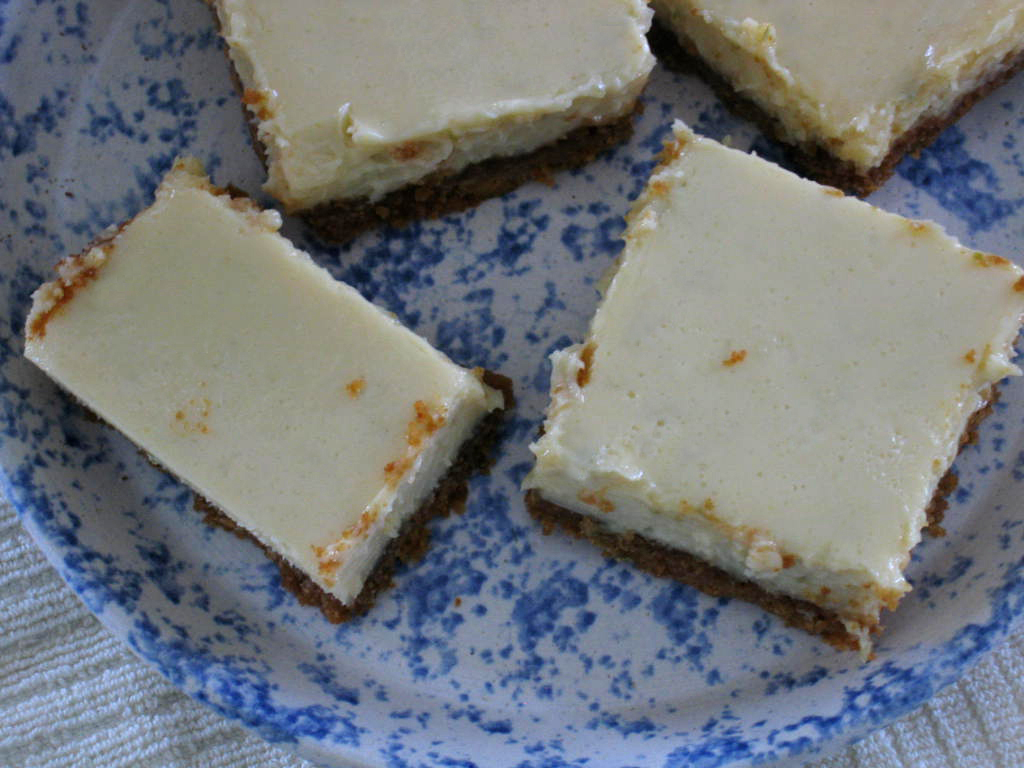
I served these cool and refreshing Key lime treats on Christmas Eve during a full-blown Colorado snowstorm. Key lime, as in the Florida Keys. You know, warm and sultry. Not
Arctic and frosty. Oh well, no one complained as they’re rich, sweet, and slightly tarty. And that’s a nice combination, wouldn’t you agree?
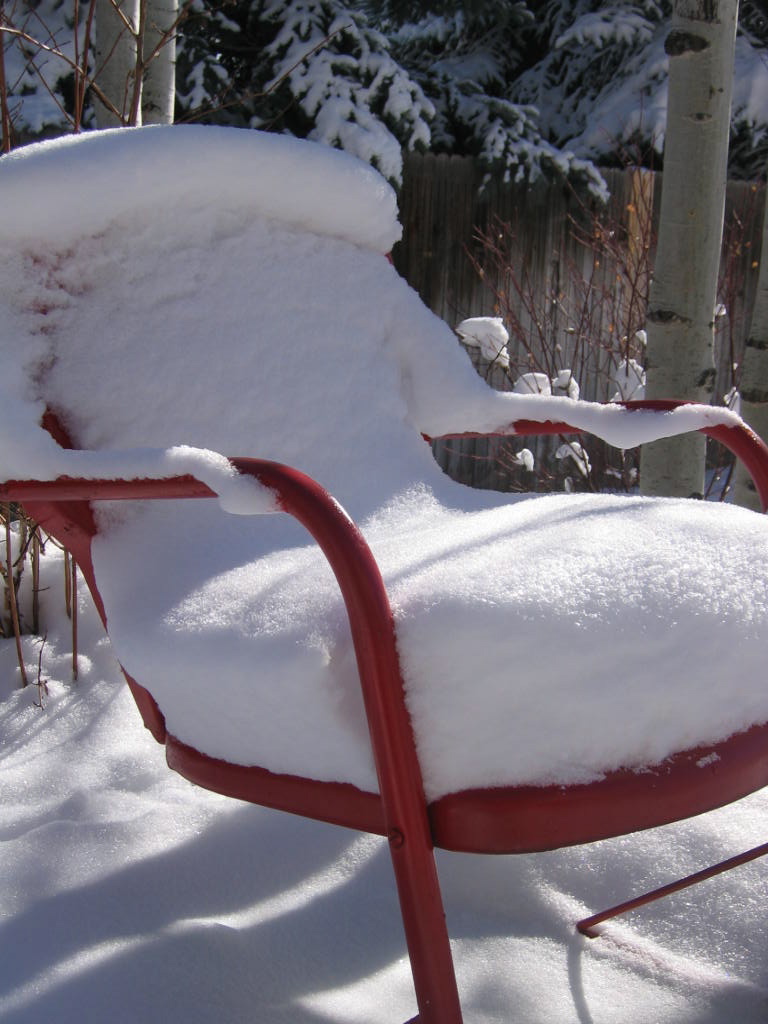
See below for photos I took at my house and just a few blocks from downtown Golden, Colorado on Christmas Eve, Christmas Day, and the day after. See – it’s been cold and snowy around here.
The outhouse? Oh that. Hey, everyone has priorities and mine happens to be a fancy KitchenAid built-in double oven with convection options. We all have to make choices.

Key lime treats
what you need
crust
2 cups finely pulsed gluten-free graham cracker crumbs
1 stick unsalted butter, melted and cooled slightly
4 tablespoons brown sugar
filling
5 ounces cream cheese, softened to room temperature
2 tablespoons grated lime zest *
pinch of salt
2 cans (14 ounces each) sweetened condensed milk *
2 large egg yolks
1 cup Key lime or fresh lime juice *
what you do
1. Adjust oven rack to middle position and heat oven to 325 degrees. Line a 13 x 9 inch baking pan with aluminum foil, allowing the extra foil to hang over the edges of each side of the pan so you can lift out the baked Key lime treats. That way they don’t stick to the pan. Lightly coat the foil-lined pan with oil spray.
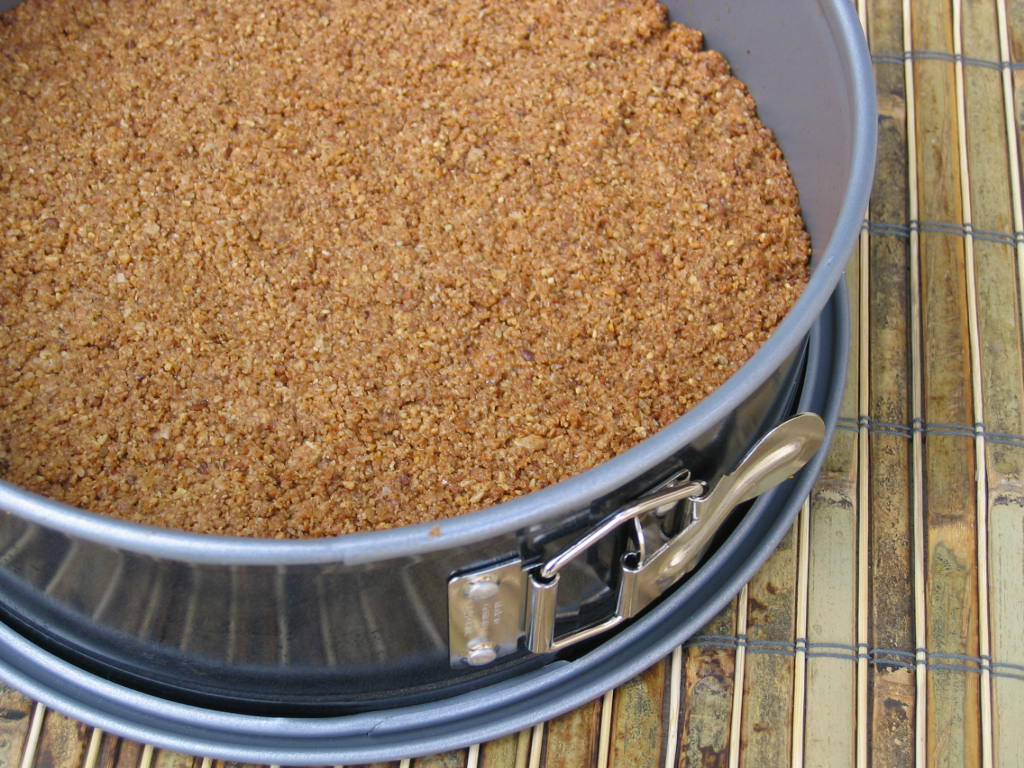
2. For the crust: blend the crackers in a food processor until finely ground. Add brown sugar and pulse to combine. Drizzle butter over the crumbs and pulse until the crumbs are evenly moistened with butter. Press the crumbs evenly into the bottom of the prepared pan. Bake until a deep golden brown, about 18 minutes. Cool the crust while making the filling. Do not turn off the oven.
3. For the filling: while the crust cools, combine cream cheese, lime zest, and salt in medium sized bowl. Add condensed milk and blend until well mixed and no lumps of cream cheese remain. Whisk in the egg yolks. Add lime juice and whisk gently until incorporated (mixture will thicken slightly).
4. Pour the filling over the cooled crust and smooth with a spatula. Bake until set and the edges begin to pull away slightly from the sides, 18 to 22 minutes. Cool to room temperature on a wire rack, 1 to 2 hours. Cover with foil and refrigerate until thoroughly chilled, at least two hours.
5. Remove from baking pan by lifting all four edges of foil extensions (you might need help with this). Using a good knife, cut into squares. Refrigerate until serving.
* Don’t use bottled lime juice. Regular limes are fine to use, it’s not necessary to use Key limes as it takes way too many to get 1 cup of juice. Grate the lime zest before juicing them and avoid the bitter white part just below the lime skin. I used 5 limes total for the juice and zested 3 of them to get 2 tablespoons of lime zest.
* Sweetened condensed milk is a blend of milk and sugar that is concentrated to form the base for a variety of sweet desserts. The water has been removed from the milk and sugar added, yielding a thick, sweet product. While sugar isn’t inherently “bad”– too much of it definitely can be and there’s a lot of it in these treats. To ease my conscience, I used Santini sweetened condensed milk because it’s the only one available that is organic. I always choose organic if possible.
Enjoy and Happy New Year!
Melissa
Wednesday, December 26th, 2007
This gluten-free granola took me several attempts to perfect and it was well worth the effort. I use it as a launching pad for so many other things – trail mix, energy bars, pie crusts, travel food, crumble topping. It has great potential. Not to mention, it’s absolutely divine as plain old granola, which is what I wanted in the first place. I love it when something you’ve worked hard to create ends up being a favorite for so many different reasons. If you come up with an interesting use for it, or a new version, please let me know. I love hearing how people tweak my recipes – plus, it’s fun to share ideas.
So, what makes this granola different?
I wanted to include flax seeds because they’re so high in nutritional value, but didn’t want to grind them and lose the crunchiness.* Because they’re so small, they get lost in the shuffle and end up at the bottom of the pan or storage container once the granola is baked. I decided to make a sticky mixture of tasty “glue” to keep the flaxseeds where they belong and part of the crunchy clusters. I’ve played with lots of combinations and so far, this one works the best.

what you need
granola fixings (dry ingredients)
1 box Arrowhead Mills GF Organic Maple Buckwheat Flakes (about 7 cups) *
1 cup almonds
1 cup pecans
1 cup flaked coconut *
3/4 cup pumpkin seeds
1/2 cup walnuts
1/2 cup sunflower seeds
1/3 cup flaxseeds
cluster “glue” mix (wet ingredients)
1/3 cup almond butter
1/3 cup Agave honey
1/4 cup pure maple syrup
1 tablespoon olive oil
2 teaspoons vanilla
2 teaspoons cinnamon
dash of sea salt
what you do
1. Preheat oven to 300 degrees. Use 2 racks placed in the middle of the oven.
2. Combine all the dry “granola fixings” EXCEPT the flax seeds in a huge bowl. Using a large spoon, gently mix ingredients.
3. Combine ingredients for wet cluster “glue” mix in medium sized saucepan over low heat; whisk/stir constantly until bubbly. Bring to low, gentle boil for about 1 minute; stir continuously. Remove from heat. It will have a semi set-up texture to it.
4. Drizzle small amount of “glue” mix over dry granola and sprinkle flaxseeds directly onto the wet mixture. See photos #1 and #2 below. The flax seeds will stick to the “glue” mixture and hopefully stay clustered onto the granola. Very gently fold mixture together. Repeat until all the sticky “glue” mix has been used and the granola is blended, but still contains clumps and clusters of goodies. Gentle, gentle mixing!
5. Spread a layer of granola mixture on two large, lightly greased cookie sheets and place one on each rack – unless you can get both cookie sheets on one rack in the middle of the oven. I just stack the two and use my convection setting, but a regular oven setting works just fine.
6. Bake for 6 to 10 minutes, remove and gently stir (try to keep clustered bunches intact). Return to oven. If you are using two racks, switch the cookie sheets and alternate putting one on the top rack and one on the rack below. Continue baking for another 45 minutes or so; taking time to remove, check, and gently stir every 6 to 8 minutes. Alternate cookie sheet placement each time. Mixture should be a uniform golden brown color. Depending on your oven temperature, this should take a total about 40 to 60 minutes of bake time. Carefully watch how the mixture browns as oven temperatures vary and this granola can burn quickly. Keep an eye on it. Don’t wander off and forget!
7. Cool completely. After the mixture has cooled, you can add raisins, dried cranberries, dates, or whatever else comes to mind.
8. Store in airtight container in the refrigerator. Stays fresh for about 5 days. Serve with milk or yogurt.
 
 
* Flaxseeds – to grind or not to grind? Flaxseeds are packed with good stuff. They’re an excellent source of omega-3s, fiber, magnesium, and potassium. They also contain the minerals phosphorous, iron, and copper. Whole flaxseed offer a nice crunch, but the nutrition in ground seeds is more bio-available, meaning they are more easily digested and absorbed. I use whole seeds in my granola and ground seeds in hot cereals and some baked goods. Buy whole seeds as they have a longer shelf life. Store in an airtight container in the refrigerator and grind when needed (use a coffee grinder or spice grinder).
* I use Arrowhead Mills Maple Buckwheat Flakes, but I’ve also used half Buckwheat Flakes and half Barbara’s Bakery Puffins Honey Rice Cereal (about 3 to 4 cups of each) in the past. While the Buckwheat Flakes are “guaranteed” GF, the Puffins are not – the box states they are “wheat free.” I talked to the folks at Barbara’s Bakery and they say it is highly unlikely that cross contamination occurs during production as they take precautions to prevent it, but they also can’t guarantee it since gluten-containing products are also used in the facility. The Puffins add a nice texture to the granola, but I’ve decided I’ll stick with “guaranteed” GF products.
* My favorite flaked coconut is “Let’s Do Organic” unsweetened organic coconut flakes (fancy grade). They come in wonderful ribbons of grated coconut. They toast up nicely and add wonderful texture to the granola. Check with your local Whole Foods Market.
This granola is gluten-free, yummy, nutritious, and versatile! And it travels well. Enjoy!
Cheers,
Melissa
Tuesday, December 25th, 2007

Merry Christmas! Snow has been falling steadily since sometime last night – it’s a white Christmas in Colorado. I’ve got green chile stew simmering on the stove and a fire burning in the fireplace. Much to be thankful for!
Warm wishes to all, goodwill towards men, and peace on earth.
From Fairbanks’ house to yours . . .
Cheers!
Melissa
Thursday, December 20th, 2007

This is such an easy side dish and is bursting with crunchy Asian flavors. Choose fresh, organic green beans, cook just until crunch-tender, and toss in the dressing immediately before serving, otherwise the acid in the dressing will wash out the bright green color of the beans.
what you need
1 pound fresh, organic green beans
1 tablespoon finely chopped fresh ginger root*
1 cup slivered red onion
dressing
4 teaspoons dry mustard powder
1 tablespoon cold water
2 tablespoons gluten-free tamari or soy sauce
3 tablespoons rice or cider vinegar
2 teaspoons dark-roasted sesame oil
2 teaspoons agave honey
(you can adjust the ingredients to your preference)
what you do
1. trim and cut green beans; cook in rapidly boiling water until crunchy-tender (maybe 5 minutes)
2. drain green beans, immerse in cold water until cool (to stop the cooking process), drain well
3. mix dressing ingredients in a small bowl with a whisk until well blended
4. toss green beans with ginger root, red onion and dressing; serve immediately
You can cook the green beans ahead of time and refrigerate, then toss with dressing immediately before serving.
*Ginger is a valued healing component in Chinese medicine and helps alleviate IBS symptoms, so add it to your list of celiac “power foods.” It helps relax and soothe the intestinal tract and decrease inflammation. Good stuff!
In good health,
Melissa
Monday, December 17th, 2007
Happy holidays everyone! You’re all happy, right? No stress, no over-eating, no over-spending, no under-exercising? Oh well, those New Year’s resolutions are right around the corner and I plan to have some good tips for the post-holiday slump. We’ll talk about that later.
In the meantime, I’m back and ready to roll with a new look and more blog-friendly options than what I had in the past. I’m also going to admit right off that I’m fumbling around with WordPress, so let this be a warning that there may be some quirky things going on until I get the hang of this.
With the holidays in full swing, I decided to launch this new chapter of Gluten Free For Good with something sweet. Although my intention with this website/blog is to focus on nutritious food and healthy living, sometimes nourishment comes in the form of sweet delights and since it’s holiday time, this seemed perfect. I know cheesecake doesn’t rank as high as pumpkin pie on the list of traditional holiday desserts and I doubt the ladies of Plymouth Plantation were celebrating their first Christmas in the New World by whipping up marbled cheesecakes in spring-form pans, but – how can you go wrong with a creamy dessert like this while waiting for Santa on Christmas Eve?
Onward . . .
apple pecan cheesecake

crust
• 1 cup gluten-free graham cracker crumbs, finely pulsed in a food processor
(I use GF graham crackers from Outside The Breadbox)
• 3/4 cup finely chopped pecans
• 3 tablespoons sugar
• 2 tablespoons unsalted butter, melted
• 1/2 teaspoon ground cinnamon
filling
• 16 ounces cream cheese, softened to room temperature
• 1/2 cup sugar
• 1 teaspoon vanilla
• 2 large eggs
topping
• 3 to 4 cups peeled and thinly sliced apples (Jonathan, Granny Smith, or a mixture)
• 1/2 teaspoon ground cinnamon
• 1/3 cup sugar
• 1/2 cup chopped pecans
what you do
1. Preheat oven to 325 degrees; coat 8 inch springform pan with cooking spray
2. To make crust: mix all ingredients in a bowl and press onto bottom of prepared pan. Bake 10 minutes, then cool.
3. To make filling: beat cream cheese, sugar, and vanilla with electric mixer on medium speed until well blended. Beat in eggs one at a time and pour mixture over crust.
4. To make topping: put sliced apples in a bowl and toss with cinnamon and sugar. Place apple mixture over filling and sprinkle the top with pecans.
5. Bake 1 and 1/4 hours, or until center is set. Cool completely before removing from springform pan.
Enjoy!
Melissa

Disclaimer: All material on this website is provided for informational and educational use only and
should not be used for diagnostic purposes. Consult with your physician regarding any health or medical concerns you may have.
|
|
|


