

|
Archive for September, 2010
Wednesday, September 29th, 2010
What do the following signs and symptoms suggest to you?
• IBS and severe diarrhea
• Weight loss and failure to thrive
• Skin rashes and hair loss
• Allergies
• Joint pain and arthritis
• Low energy and brain fog
• Autoimmune thyroid disease
• Autoimmune adrenal disorder
• Eating grass
Maybe those of you (us) with celiac disease don’t munch on grass (the lawn-mowing kind, not the marijuana kind), but I bet many of you with gluten intolerance can relate to some of what’s mentioned above.
This is my guy Fairbanks. Handsome fellow, don’t you agree? Big, strong, healthy, independent, full of energy (excuse me while I gush and overdo the photos).


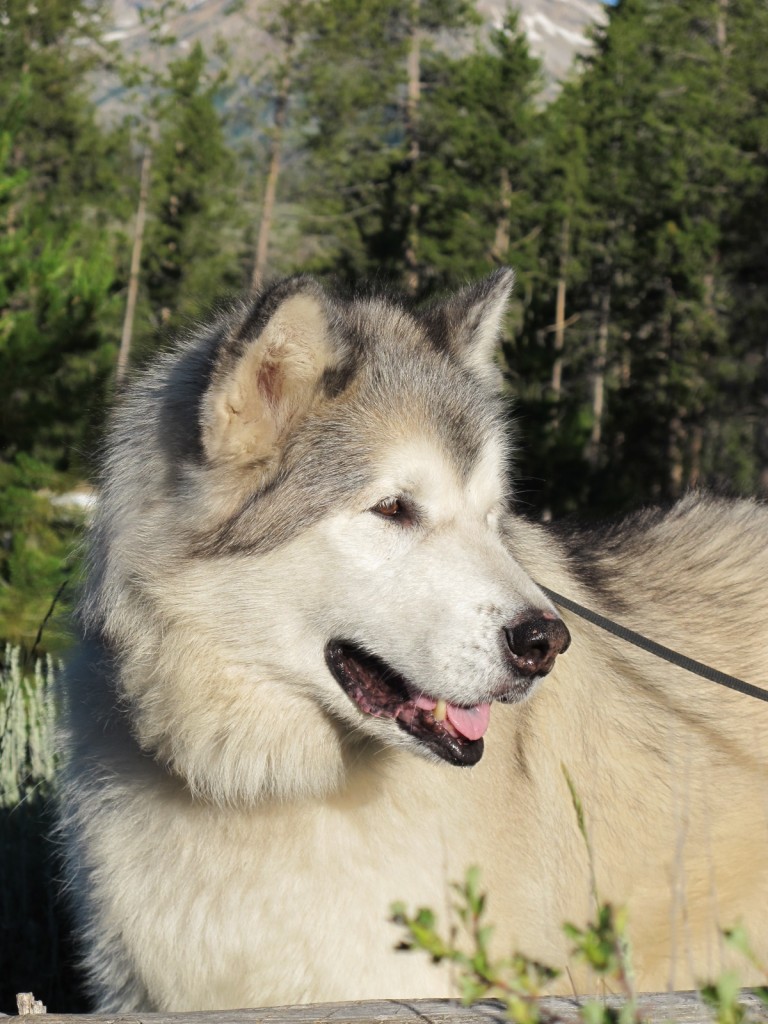
Seriously, is that a good looking dog, or what?
He almost died a few years ago. He was so close to that big dog park in the sky that he couldn’t even lift his head off the ground. He went from 130 pounds to well under 100 and had a wide variety of serious health problems. The vet couldn’t figure it out and I wondered if he was silently suggesting that it might be time to let Fairbanks go. But, being the “care-taker” that I am (not to mention, nutritionist), I wasn’t ready to let that happen. To make a long and convoluted story short, I became convinced he had the canine version of gluten intolerance.
After several blood tests and vet-to-various-vet discussions, it was determined that he had some autoimmune conditions (sound familiar?). I went along with the thyroid and adrenal meds, as he was one paw in the grave, but I also shifted him to a totally grain free diet and added Nordic Naturals cod liver oil to his daily food. He now eats only meat, fish and some vegetables. He chews on raw beef and bison bones and eats selected people-food leftovers. It took several months, but he’s come back to life, regained his weight and as long as he he isn’t exposed to gluten, he does okay for an old guy (he’s almost 11). If he ingests gluten (via a random dog biscuit), he immediately starts showing signs of celiac disease. Rashes, low energy, brain fog, joint pain, allergies.
The rashes show up on his face (I’m wondering if he has doggie DH). The low energy and joint pain are evident on our daily dog walks. You’re probably wondering how I know he has brain fog. He’s my most favorite special dog in the world, I just know. I call it dogheimers. Or, maybe he’s just meditating, but whatever it is, it accompanies exposure to gluten.
Dogs aren’t supposed to be eating low-grade gluten, corn, soy, dairy and other cheap byproducts pressed into nasty little nuggets. If Fairbanks’ behavior (he’s a backyard squirrel hunter) is any indication of his culinary evolution, they’re supposed to be eating birds, bunnies, squirrels and other small animals. If he was in a pack of Alaskan dogs, I’d say maybe caribou or salmon, but definitely not gluten and soy.
Once I figured out the food he needed to thrive, I found a wonderful local pet shop that carries high-quality, grain-free dog food. I rotate his proteins by purchasing two different bags each time I stock up. One time it might be fish and potato or duck and sweet potato. The next time it might be bison, lamb or venison.
Those of you who’ve been following this blog know I belong to Grant Farms CSA program and support my local farmers. Well, Andy Grant is drifting into the pet food business (sort of), so pastured, organic beef bones and organ meat will also be part of Fairbanks’ diet. Perfect. Join a CSA and you and your pet will be healthier and you’ll be supporting the “eat local” movement in new and wonderful ways. Better for your health, your pet’s health and the health of the environment. As it should be.
Peace, love and gluten-free dogs!
Melissa
Okay, okay. If you insist, here’s one more picture. Wasn’t he the cutest puppy ever?!

Saturday, September 25th, 2010
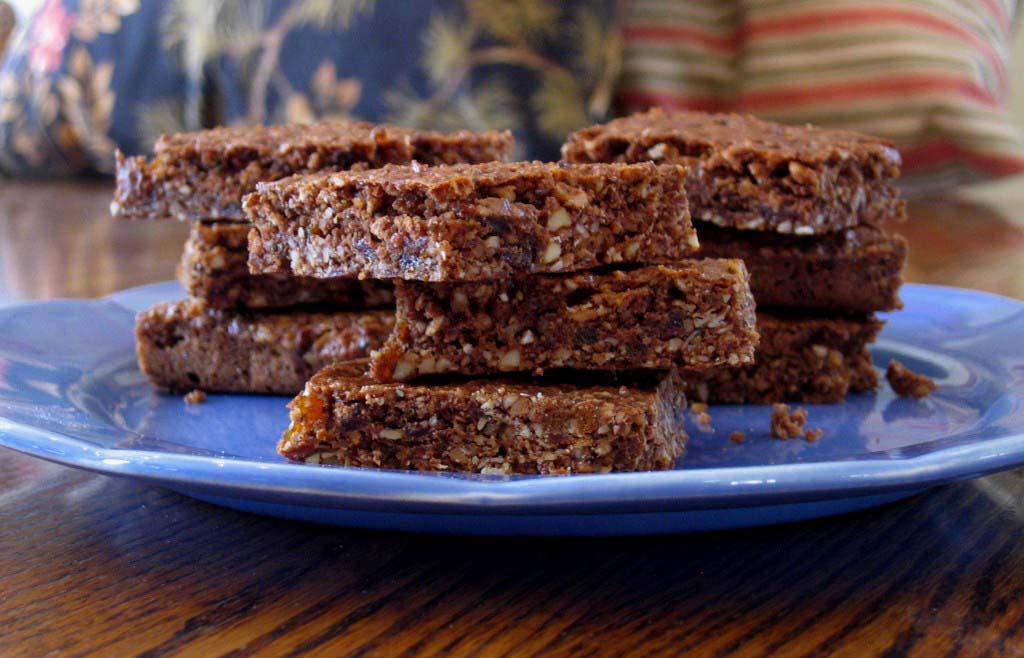
When Ali (co-owner, with her husband Tom, of Whole Life Nutrition) asked me to participate in her kid-friendly “Go Ahead Honey It’s Gluten Free” event, my first thought was, “Hallelujah, I’m not packing lunches anymore because my kids are all grown, ha-ha-ha.”
But after my initial jubilation, I had a sudden jolt of nostalgic sadness over the fact that my lunch packing days were over. Okay, if you must know, that passed quickly, but I decided it would be fun to participate anyway.
Plus, I’m into healthy environments for kids and a big part of that has to do with what they eat. My kids never bought school lunches. They went to a closed-campus high school and couldn’t wander off to MacDonalds (thank goodness), so over the years, I made a LOT of lunches. And with two boys and two girls, the lunches were often customized and large.
I love Ali and Tom’s approach to food, nutrition and parenting, so here’s my contribution to the lunch room party.
kid-friendly power bars
what you need
1 cup pecans
1 cup almonds
1 cup chopped dried apricots, unsulphured (I use organic Turkish apricots)
1/2 cup (2.5 ounces) dark chocolate, coarsely chopped, 55% cocoa content or higher
1/4 cup gluten-free rolled oats *
1/4 cup Pamela’s GF Baking Mix
2 tablespoons ground chia seeds
1 teaspoon ground cinnamon
1/4 teaspoon sea salt
1/3 cup pure maple syrup (I like organic, grade B)
1 large egg
1 teaspoon vanilla
* I use guaranteed gluten-free oats from Montana Gluten-Free Processors. Oats are generally safe for most people who are gluten-intolerant, but make sure the oats you use are uncontaminated and guaranteed gluten-free. Montana Gluten-Free Processor oats are certified by both the Gluten Intolerance Group and the Celiac Sprue Association.
what you do
1. Preheat oven to 325 degrees. Line a cookie sheet with parchment paper. Spread the pecans and almonds in a single layer on the prepared cookie sheet and roast for 6 to 10 minutes, or until fragrant and lightly browned. They burn easily, so watch them and stir once or twice if needed. Let cool.
2. Place flour, ground chia seeds, cinnamon and salt in a food processor and pulse until well combined. Add nuts and pulse until they are coarsely chopped and well blended with the other ingredients.
3. Add oats, apricots and dark chocolate and pulse several times so everything is mixed together.
4. In a large bowl, whisk together egg, maple syrup and vanilla. Make sure these ingredients are well blended. Add the nut and fruit mixture to the bowl. Using a fork, mash and mix them all together, breaking apart clumps of dried fruit and chocolate.
5. Spread the mixture over parchment paper onto the cookie sheet. Either flatten the mixture with your hands or place another sheet of parchment paper on top and roll out into a flat sheet, about 1/4 to 1/2 inch thick. Remove the top piece of parchment paper and bake on center rack of oven for 24 to 28 minutes until nicely browned. Don’t over-bake them. Cool completely on a wire rack before cutting into bars. Store in the refrigerator. Makes about 2 dozen bars.
If you don’t have kids at home, make a batch of these and use them for a quick pick-me-up while out hiking or skiing. They make great back-country power bars.
Peace, love and good nutrition!
Melissa
Friday, September 17th, 2010
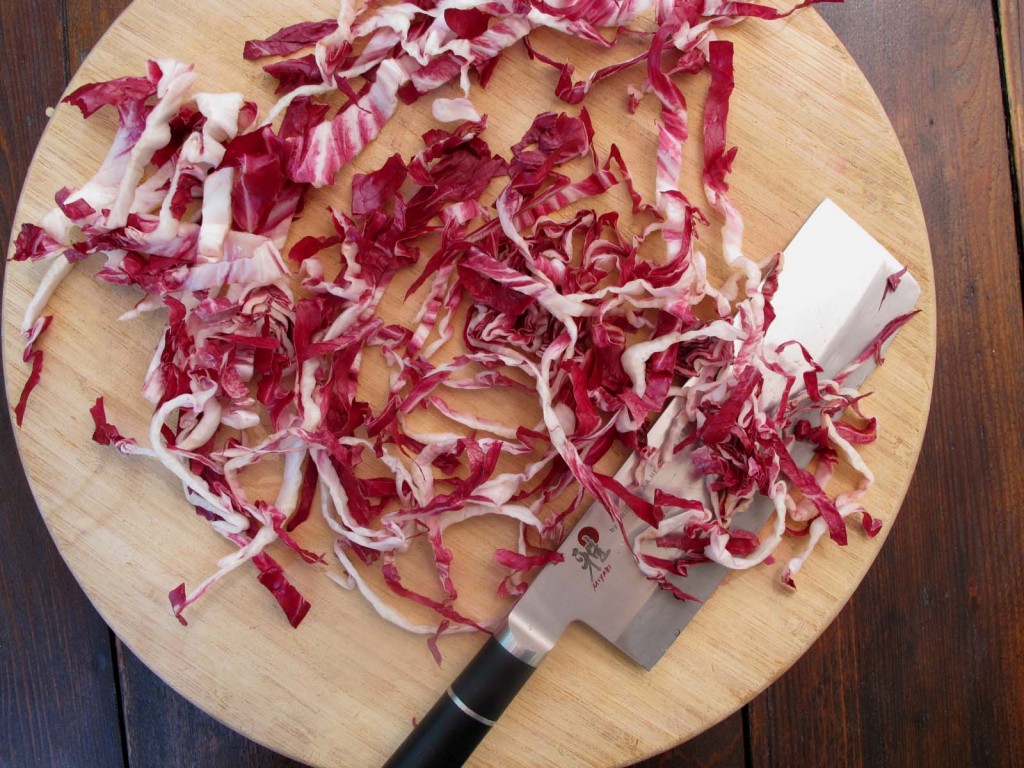
I figure if I’m going to eat pizza, I better load it up with antioxidant goodness.
Wednesday is my Grant Family Farms CSA pick-up day, so Tuesday nights are often spent making pizza or rice bowls out of the leftover odds and ends in my crisper drawer. It forces me to explore the dark corners of my fridge and make room for the new arrivals. Never one to color inside the lines, I’ve come up with some creative ways to use the tail-end of my farm-fresh food deliveries.
Beet or corn ice cream, anyone? Sweet potato tacos?
How about radicchio, mixed squash and beet pizza?
Radicchio?
Radicchio (see above) is a leafy chicory plant. Most people use it in salads, although I find it bitter. But guess what? If you cook it, the bitter taste disappears and it becomes mellow and slightly sweet. It’s wonderful stuff and according to The Journal of Nutrition, it’s also very high in antioxidants. Right up there with Swiss chard, spinach and broccoli.
Last Tuesday night I dug around in my fridge and found some radicchio, a piece of already cooked corn-on-the-cob, a beet, a small grilling onion, two roasted green chiles, and a few big chunks of delicata, crookneck and zucchini squash. I also had several garden-fresh tomatoes, all from the farm.
Radicchio on pizza? I’ll give it a try. And, how about roasted green chile, black olive, onion, corn and tomato pizza?
All super-healthy ingredients. Every veggie on this list is filled with high-quality antioxidants. That’s a good thing. Our bazillions of hard-working little cells need all the help they can get.

gluten-free antioxidant veggie pizza #1 (see above, top left corner)
what you need
1 gluten-free Udi’s thin pizza crust *
1 & 1/2 tablespoons butter (I prefer organic, pastured, full-tilt butter)
2 cloves garlic, minced
squeeze of honey (1-2 teaspoons)
1 cup thinly sliced ridacchio
1 cup mixed squash chunks (3/4 inch squares)
1 beet, washed and cut into chunks, no need to peel (3/4 inch squares)
cheese (I used a mix of 3 different kinds)
gluten-free antioxidant veggie pizza #2 (above, bottom right corner)
what you need
1 gluten-free Udi’s thin pizza crust *
1 & 1/2 tablespoons butter
2 cloves garlic, minced
squeeze of honey (1-2 teaspoons)
2 roasted green chiles, peeled, de-seeded and chopped
2 tomatoes chopped *
1 can sliced black olives
1/4 cup corn
1/4 cup diced onion
cheese
what you do
1. Because the beets and squash take longer to cook than the pizza itself, I like to roast them first. It also adds a nice taste to the pizza. Preheat oven to 400 degrees. Place the prepared beets and zucchini in a medium-sized bowl and drizzle with a small amount of olive oil. Gently mix to cover with oil. Spread out the veggies on a lightly oiled cookie sheet and sprinkle with sea salt. Roast on center rack of the oven for about 15 minutes. Watch closely and flip using a spatula to make sure they’re roasted evenly. Remove from oven and set aside.
2. While the veggies are roasting, melt the butter over low heat, add the garlic and honey and stir until blended.
3. Brush the melted butter-garlic-honey blend over the pizza crust. Add the ingredients, sprinkle shredded cheese over the top and cook in 375 degree oven for 10 to 12 minutes or until the cheese is lightly browned. Remove from oven and let rest for 5 minutes.
4. Cut into 4 slices and enjoy! Serves 1 or 2, depending on how hungry you are.
Melissa’s cooking notes (if you dare):
* Udi’s is a local gluten-free product company. These crusts are thin, delicious and store well in the freezer. This is one of the few pre-made, gluten-free products that I buy. I love them!
* Put the ridacchio on first so it doesn’t burn (that goes for ingredients like kale as well, they tend to cook faster than the big chunky ingredients).
* When I use tomatoes for cooking and don’t want the extra liquid, I chop them and spin them in my salad spinner to get rid of the excess moisture. Then I save the juice and use it in my homemade salad dressings.
* Photos above are the “before” versions. I dislike messing with my camera when it’s time to sit down and enjoy dinner.
Peace, love and antioxidant goodness!
Melissa
Wednesday, September 1st, 2010
I just spent 3 days at the IFBC in the trendy Fremont district of Seattle. Aside from suffering temporary red wine and dark chocolate overload, I’m feeling a renewed interest in food, blogging, recipe writing, online friends and photography. My geek side has been stimulated, I discovered Theo coconut curry chocolate and I had my first taste of sherry – ever. I made new friends and solidified online friendships with real-time, face-to-face hugs.
Here are a few highlights from the conference, some tips from the presenters and a mix of random photos I took while in Seattle. If you’re uninterested, you can bail out now by clicking here for creative recipes from Saveur Magazine or here for a follow-up anatomy video from Gil Hedley, the science guy behind my prior post.
Tips from Session 1: The Art of Recipe Writing, Amy Sherman, Dianne Jacob, Kristine Kidd
• Make sure your recipe title is straightforward and descriptive.
• Give more than 1 indicator. Sauté onions for about 10 minutes, or until golden brown.
• Attribute your source. Inspired by, or adapted from.
• Supply 2 amounts. Four scallions chopped, about 1/4 cup.
• Use the word about when indicating times. Bake for about 30 minutes.
The subject of whether food bloggers should charge when companies ask to use their recipes was a heated one. What do you think? If a cookbook author, product company, marketing group or food writer wants to use a blogger’s recipe, should you (the food blogger) charge them for it? Or, be thrilled to have the exposure?
Stuff from Session 4: Law, Ethics and Bullshit (seriously), Robin Goldstein, Robert Schroeder from the FTC, Barnaby Dorfman of foodista.com
• Recent Advances in Bullshit Reduction by attorney, author and food/wine blogger Robin Goldstein was one of the most entertaining presentations of the event. What does it take to get a Wine Spectator Award of Excellence? Not much, we discover. For more information and a PDF file of his Power Point presentation, check here. In addition to his law degree from Yale, Robin has degrees in neuroscience and philosophy from Harvard. Smart, cute and quirky. Charming mix. He had the room a-twitter.
Pictures from Session 8: Food Photography, Penny De Los Santos (she was definitely the cool kid on the block)
I got so much from this session with Penny, senior photographer for Saveur (and National Geographic). She’s reverent, witty, offbeat, colorful and full of brilliant information for taking better pictures. Here are a few of her tips:
• A good picture needs the right light, color and composition.
• Use a photo of hands holding food once. No more. Ever.
• Camera angles include overhead (except for tall food), 3/4 angle, and from the side.
• Always consider the background.
• Not all food looks good from the same angle.
• Don’t get too close to the food. Let it breath. Give it room.
• Diffuse and soften harsh light.
• Shoot a variety of shots – food in the process, empty plates with details.
• Practice your photography regularly, give yourself assignments.
To see her work, check here and here. Go – go there now. Actually, wait until you’re finished reading this post, you’ll never come back. She’s amazing.

I took this photo during the Winemaker’s Dinner with James Oseland, the editor-in-chief of Saveur Magazine. His keynote speech was fun, informative, silly and uplifting. He’s doll. Tweet, tweet.
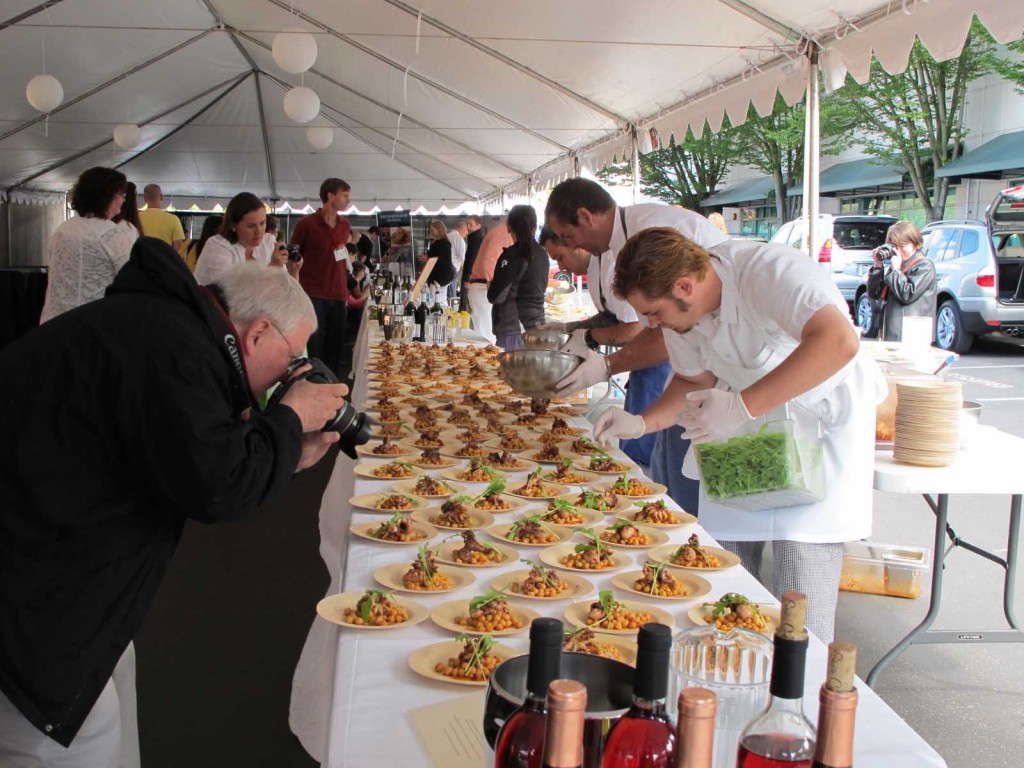
Food bloggers, cameras in hand, descend upon the lunch tables.

My new best friend. She blogs at fakegirlscantcook.com. I was totally jealous of her Seattle tan.

Lady Gaga meets the Jetsons.
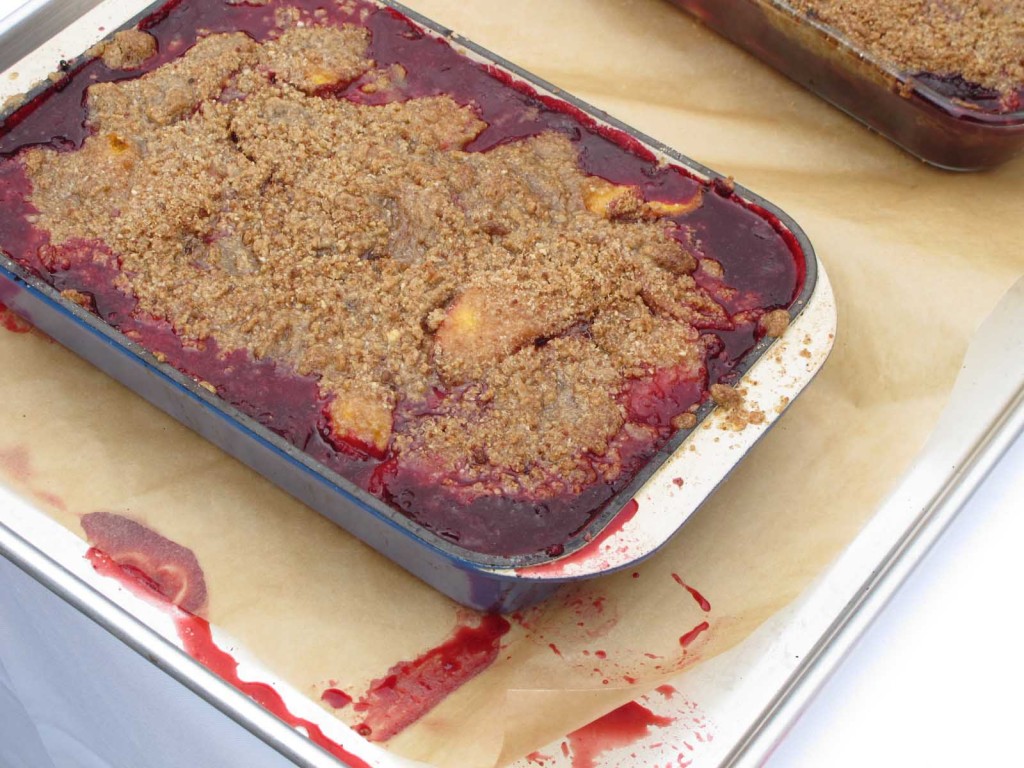
This was a GF peach and berry cobbler made by Danny of gluten-free girl and the chef. He made some of the food for the GF crowd. Thank God I have celiac disease, as there was a sign on the table saying the food was for the “GF folks only.” If you’d like a glimpse of the main course, which was prosciutto wrapped sockeye salmon over GF pasta with lemons, anchovies, pine nuts and olives, check here. Hands down, the best meal at the event. Shauna (gluten-free girl) and Danny have a new cookbook coming out in September. You can pre-order it here.
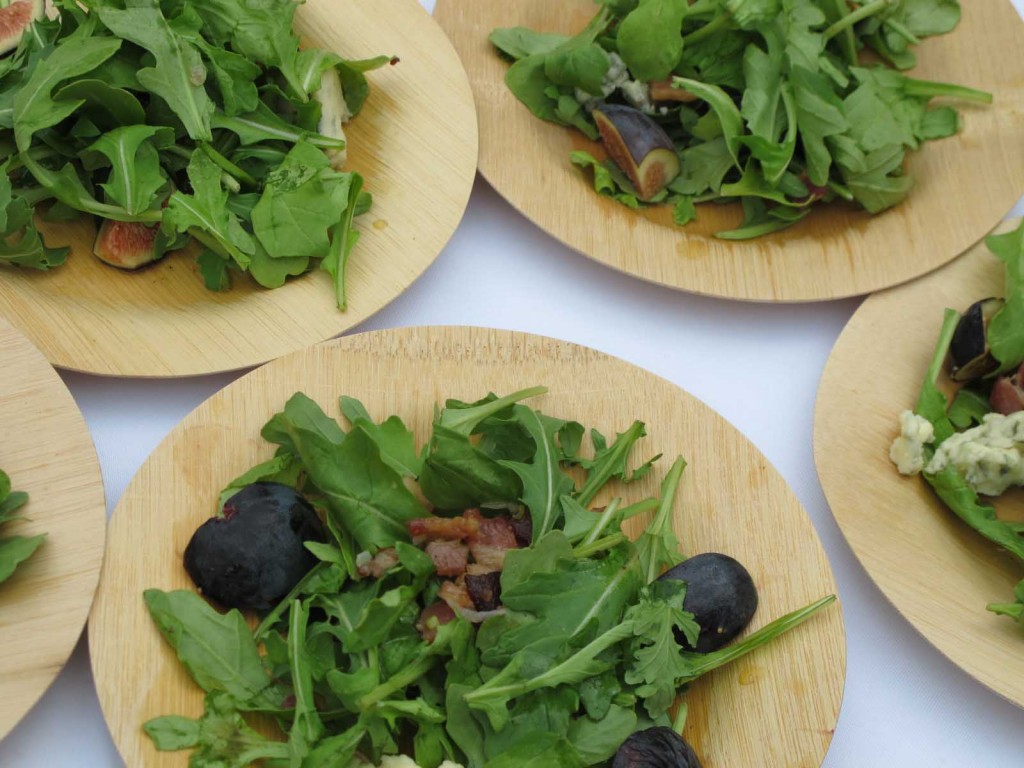
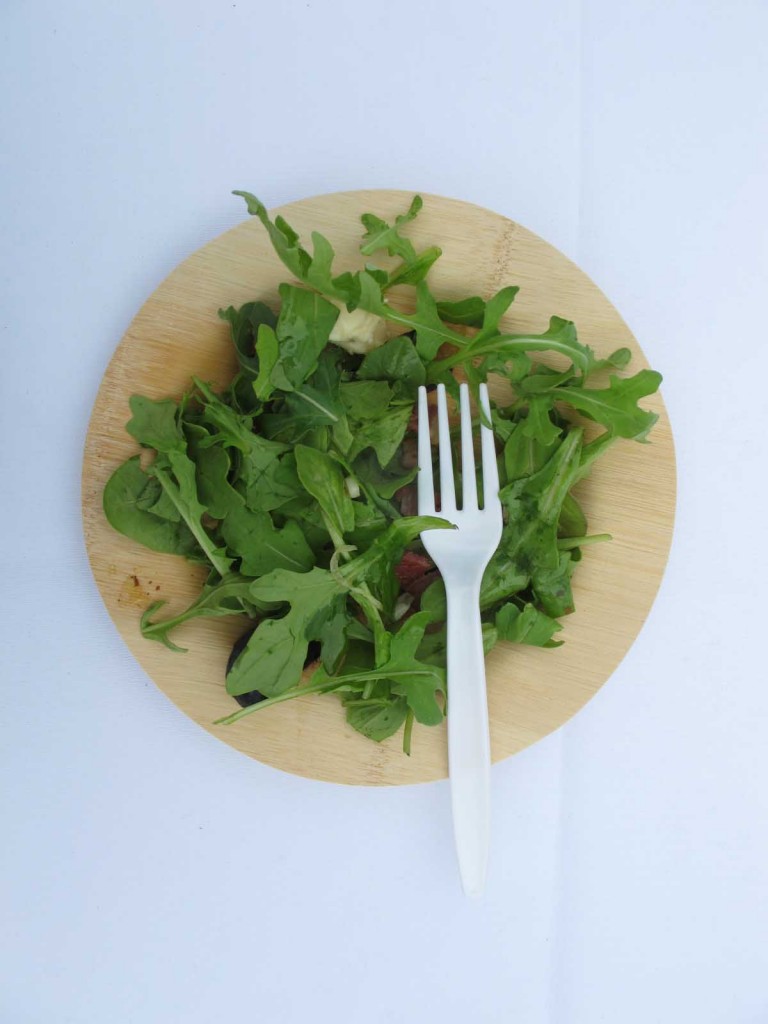
Danny’s arugula, fig and bacon salad. It was divine. I had 5 servings.

No, this is not a photo of a blonde pony tail with mall bangs. It’s Morgan Spurlock of Super-Size Me fame being interviewed at the IFBC welcome party. He’s very funny. As was the delightful interviewer (who was that guy, someone please tell me). Morgan’s wife is Alex Jamieson, author of Living Vegan for Dummies. She did a presentation with Shauna on blogging for specialized diets. They were a lively and informative pair and the talk encouraged a lot of discussion from the audience. Awareness of food sensitivities is increasing and that’s a good thing. Thank you, ladies.
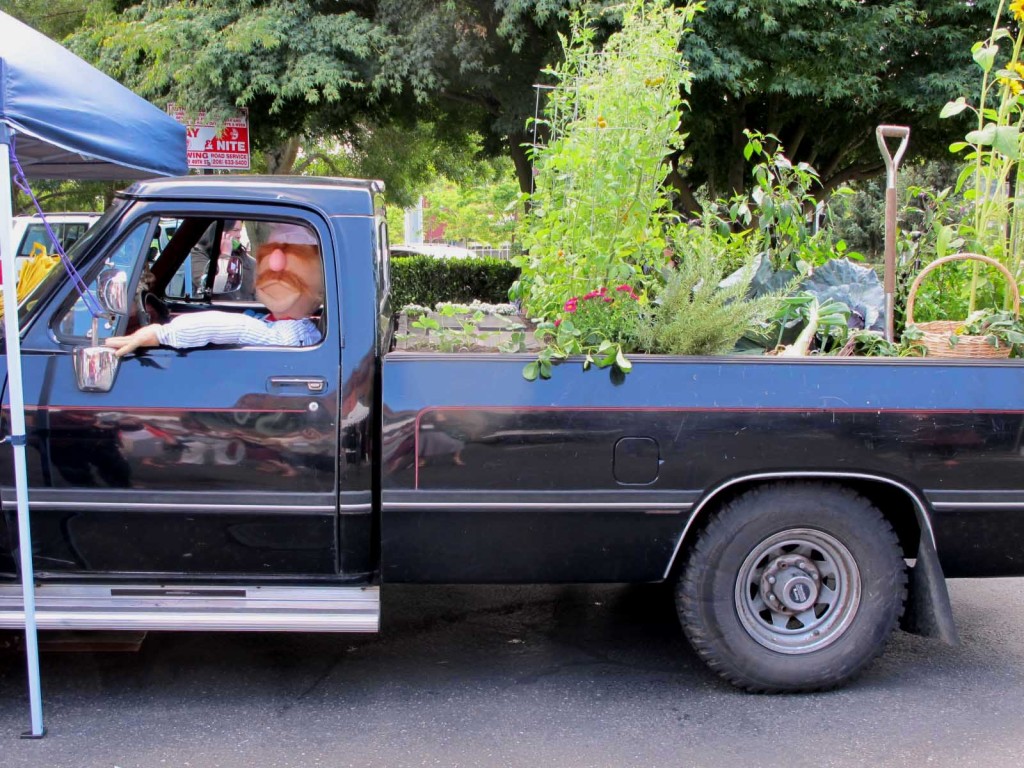

The garden mobile and the pork mobile.

Fresh flowers were everywhere. I love that. No bad moods allowed.
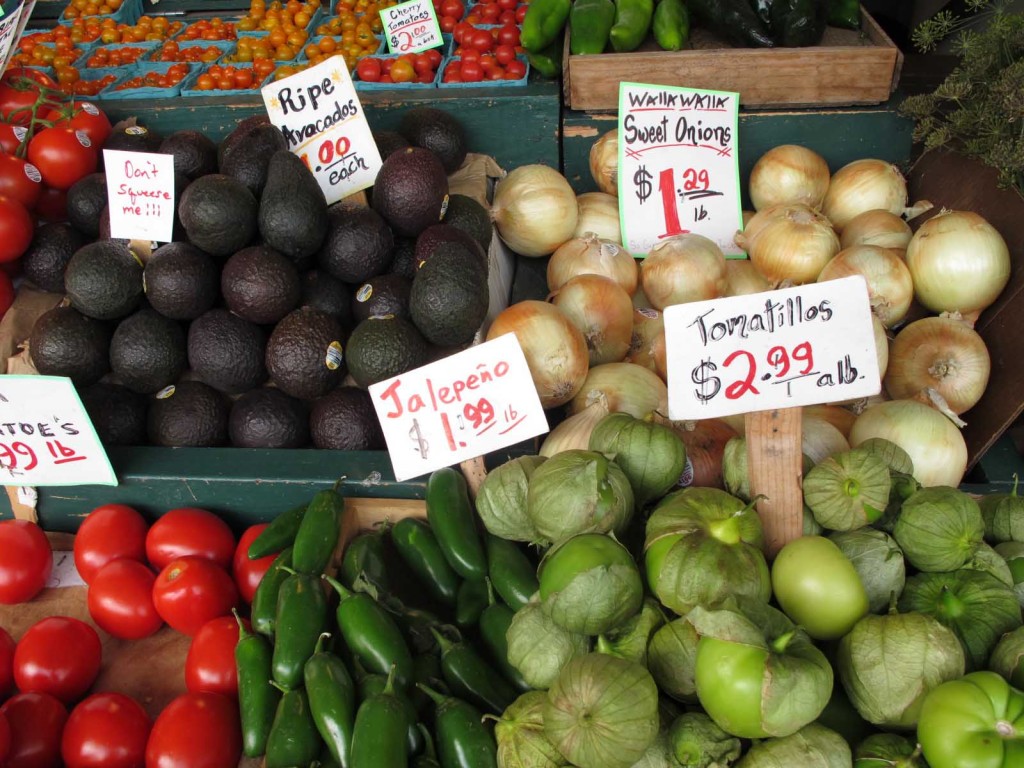
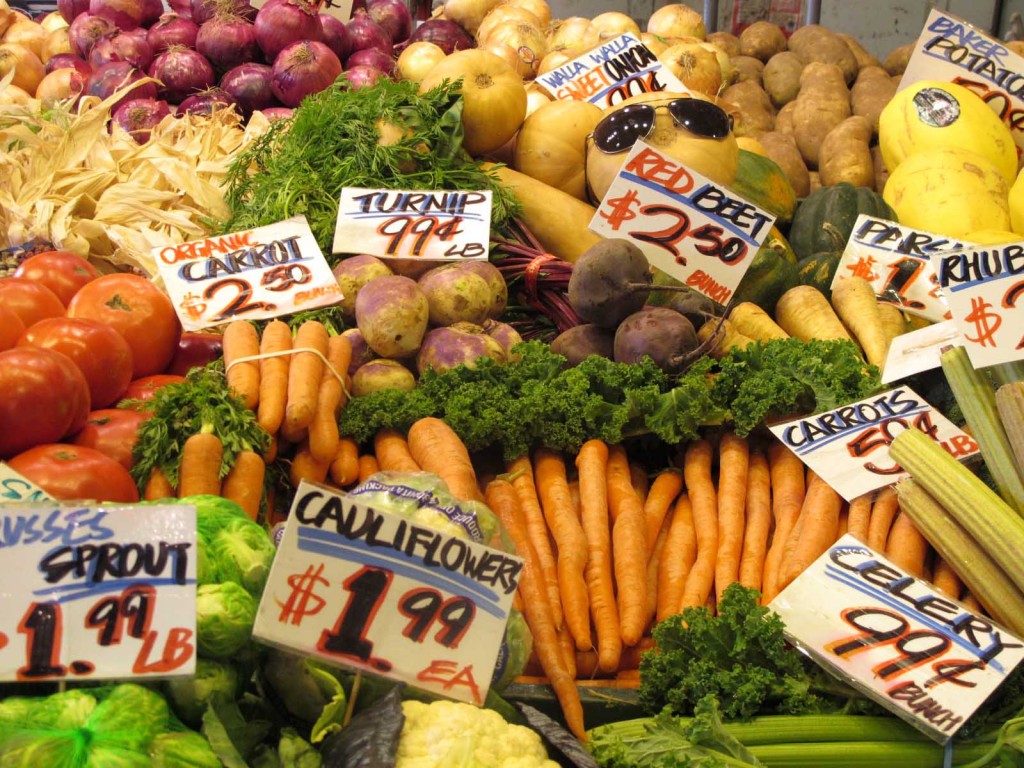
Pike Place Market. Can you find the spelling error? And the hip and groovy melon?
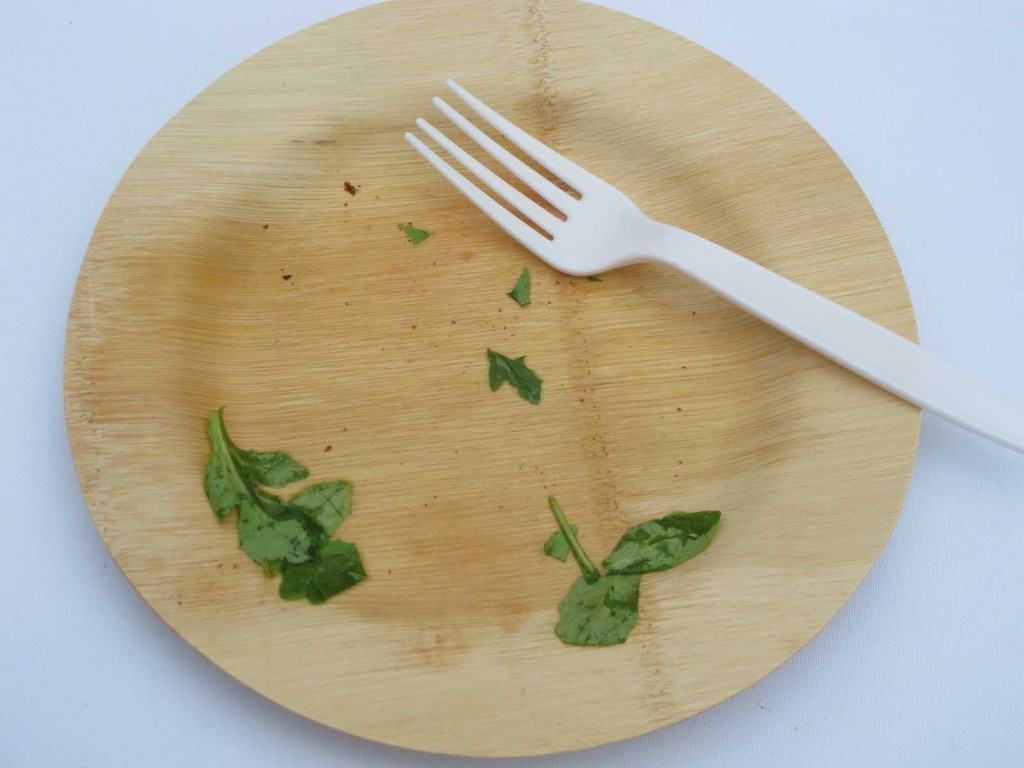
Peace, love, friends and food. What more could you ask for?
Melissa
xo
Disclaimer: All material on this website is provided for informational and educational use only and
should not be used for diagnostic purposes. Consult with your physician regarding any health or medical concerns you may have.
|
|


